Raspberry Pi 2: Capturing HDMI
Lintest systems PiCapture is a very interesting tool. We can record HDMI signal by using it. Of course, this device can not work alone, it requires Raspberry Pi boards (RPi, RPi2 and RPi3).
My personal reason of using this board is building automated test for display output remotely.

How it works
Simple! HDMI output -> PiCapture -> Convert to MIPI CSI2 -> Capture video (like camcorder)
In other words, PiCapture converts HDMI input signal to MIPI CSI. Then, 'pivideo' software records it as H.264 video format.
HW installation
Lintest provides a good tutorial. Please go to https://lintestsystems.com/downloads.
SW installation
Please go to https://www.raspberrypi.org/downloads/ to download the Raspbian disk image. Unzip it then you can get .img file.
Create a SD card image in the host machine.
$ sudo dd bs=4M if=2017-01-11-raspbian-jessie.img of=/dev/sdx
$ sync
Pull out the SD card and insert it into the RPi board. Power up the board!
Install the PiCapture control software.
pi@raspberrypi:~ $ sudo pip install pivideo
pi@raspberrypi:~ $ sudo apt-get install python-smbus
pi@raspberrypi:~ $ sudo apt-get install gpac
Enable the Camera.
pi@raspberrypi:~ $ sudo raspi-config
Select Enable camera and hitEnter, then go to Finish.
How to record the HDMI video
pi@raspberrypi:~ $ raspivid -o vid.h264
pi@raspberrypi:~ $ MP4Box –fps 60 –add vid.h264 vid.mp4
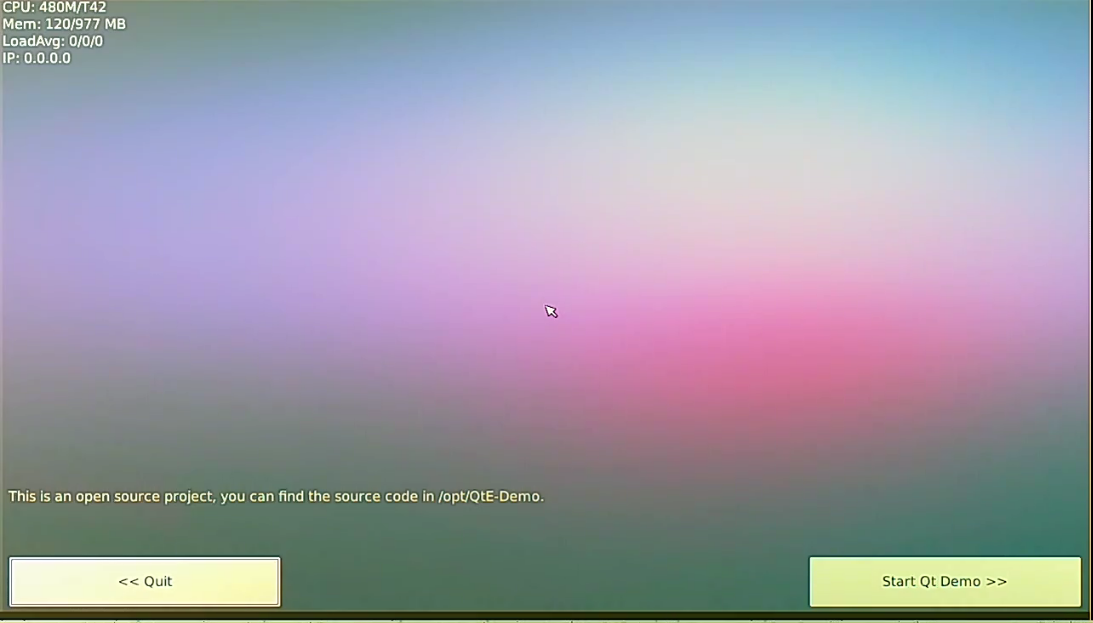
By default, 5 sec video is recorded. If you want to configure the recording time, then use '-t' option with raspivid. MP4Box tool is used for converting h264 to mp4. Here is the captured screen.